Due to Photobucket's brilliant recent change in policy for hosting pictures, here is a link to the pics:
Pictures
Below are instructions for installing a Gentex Homelink Rearview Mirror with AutoDim and Compass into a 2004 Mazda 6. This model of rearview mirror (GENK45A) has 3 programmable buttons for a garage door, security gate, or any other remote control device which works nicely to replace my big bulky clicker that was hanging from my visor.
The AutoDim feature was something I honestly thought was more of a gimmick that wouldn't be needed before I bought it. However, after using it, it really is nice not being blinded at night when someone's headlights come up behind you. It smoothly transitions from different levels of dimming based on how bright the light is behind you.

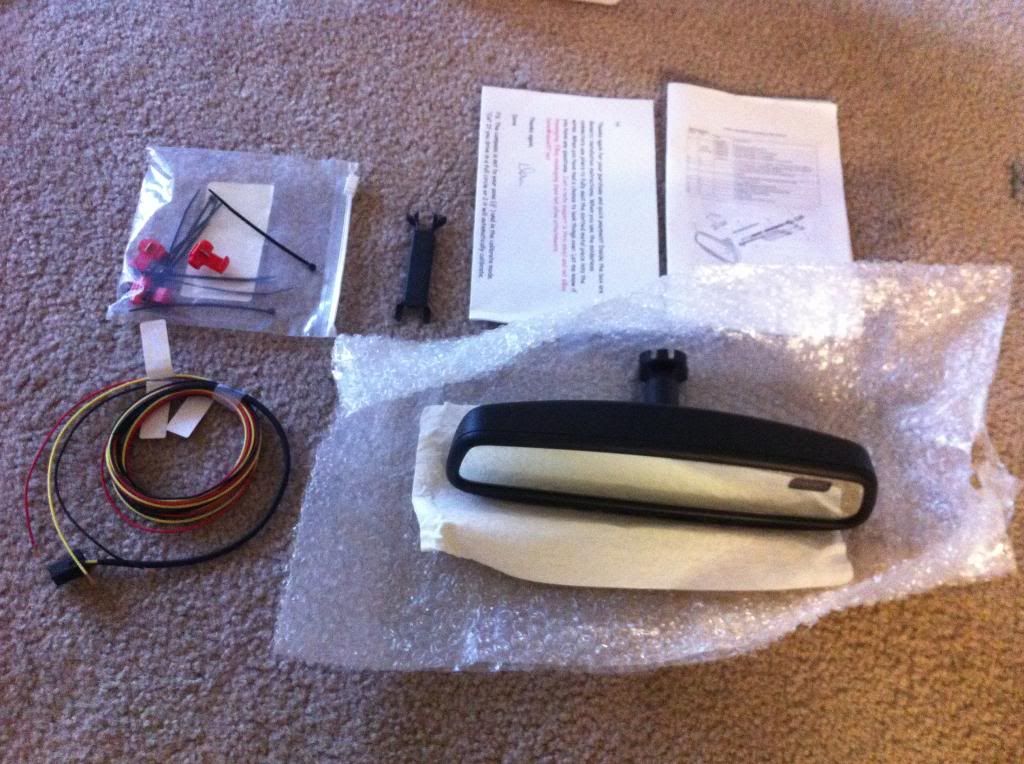
PARTS:
1) Homelink Rearview Mirror (GENK45A) ($160-eBay)
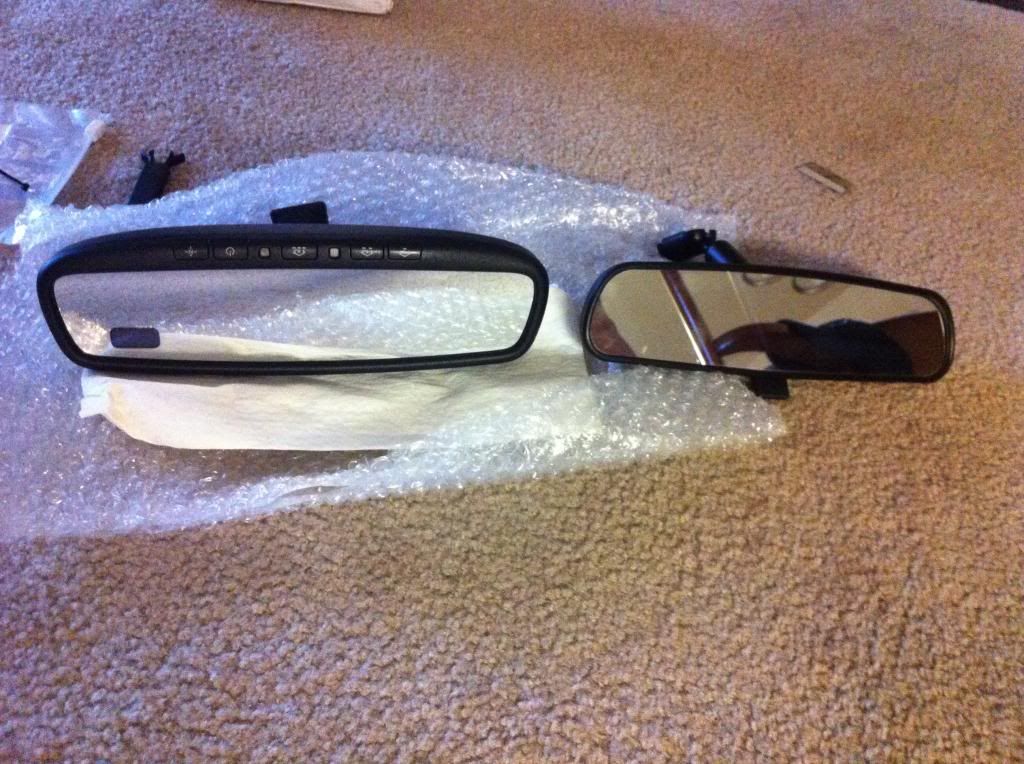 |
| New Mirror compared to factory mirror |
TOOLS:
1) Thin Flat head screwdriver
2) T25 Torx bit
3) Wire cutters
4) 8mm Socket and Driver
INSTRUCTIONS:
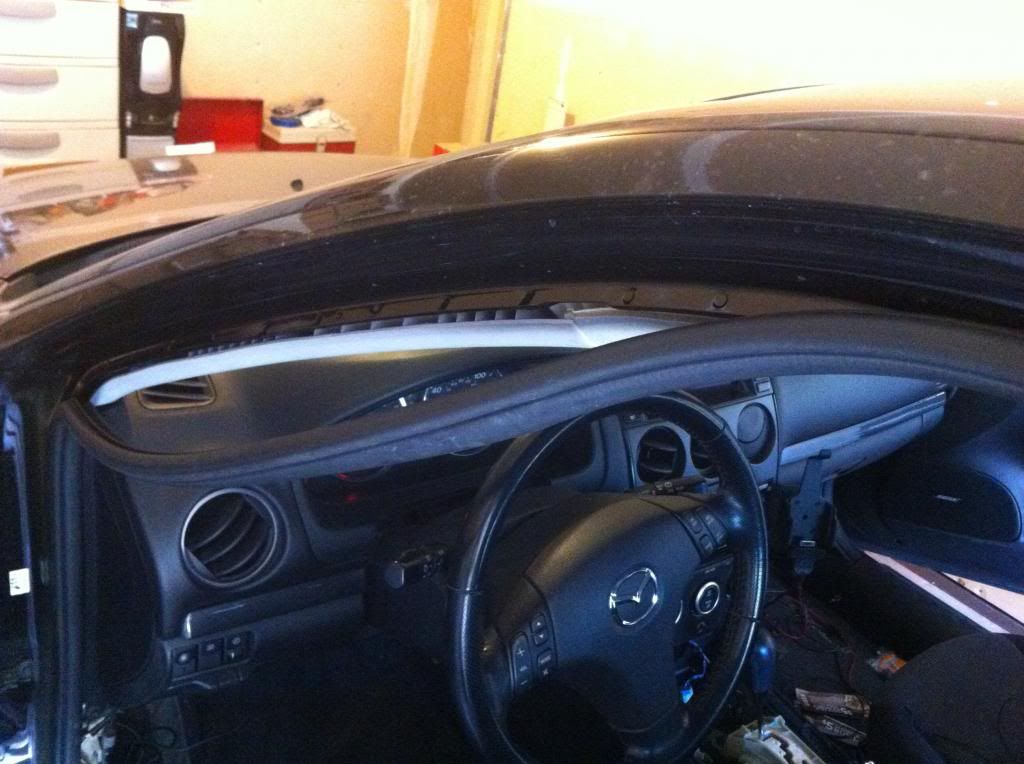
1) Remove the existing factory mirror by inserting a thin flat head screwdriver as shown in the pic below:
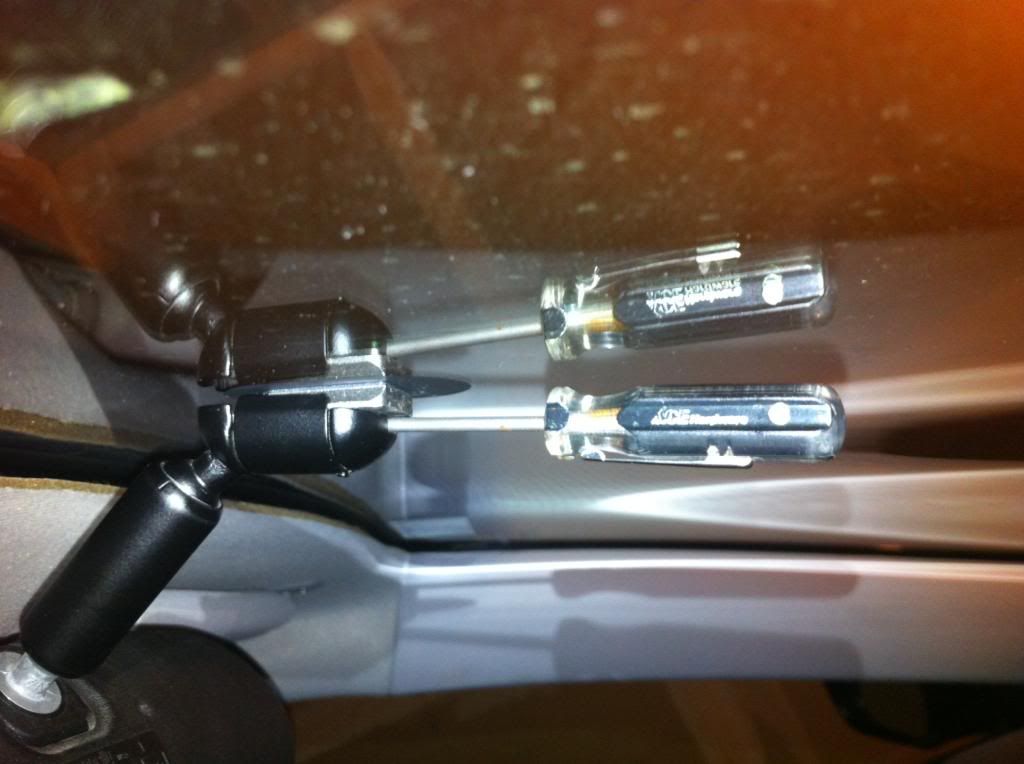
Insert screwdriver as far as possible and wiggle the mirror off of the metal wedge mount. This can be a slow and awkward process, but eventually it will come off.

*Be careful not to put too much pressure on the windshield or it may crack.
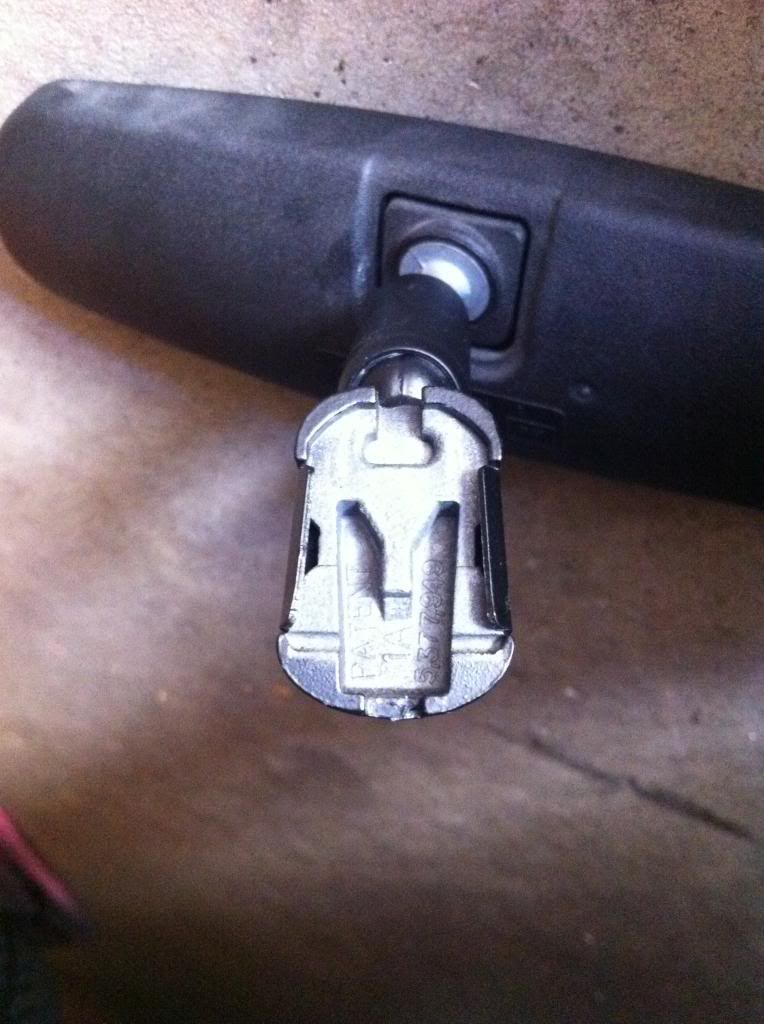
2) Slide the new mirror on to the factory metal wedge mount as far as it will go.
*Be careful not to put too much pressure on the windshield or it may crack.
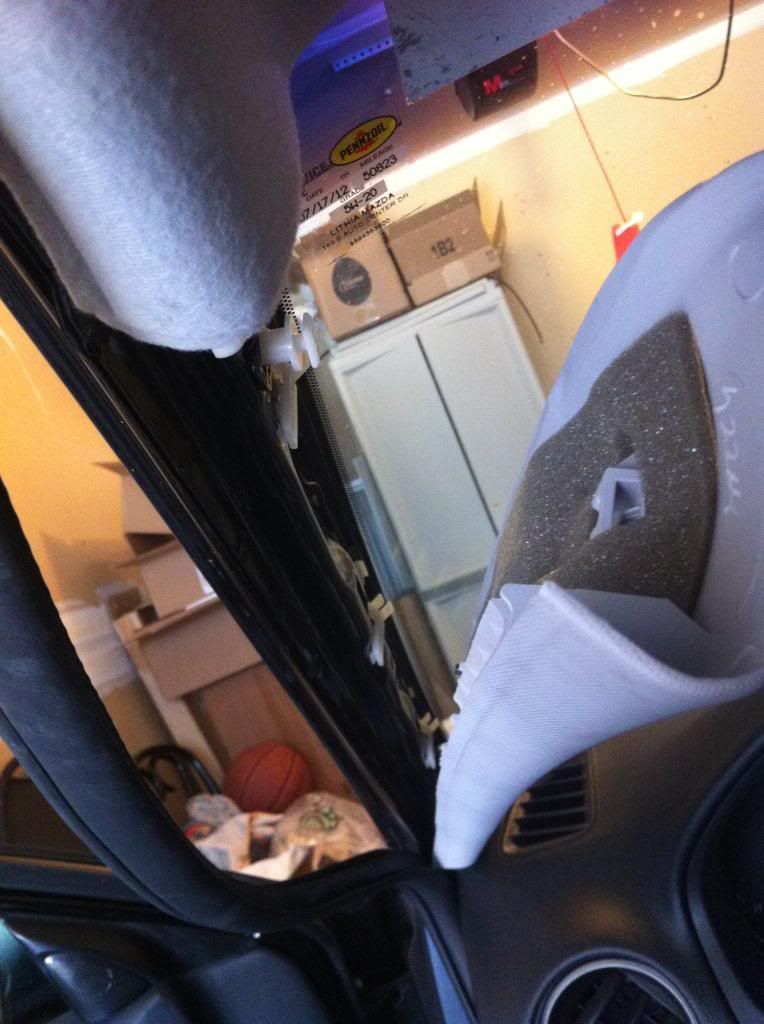
3) To run the wires we need to remove the driver's side "A" pillar. My Mazda does not have curtain airbags. To remove, first pull the rubber weatherstripping from the door frame.
4) Then pull on the plastic pillar in towards the steering wheel from top to bottom to release the clips. DO NOT pull to hard. The pillar will only pop out 1/4". Next, you will have to slide the pillar up towards the ceiling about 1/2" to release the upper clip. Then, the pillar will pull out and can be set aside.
Hard to explain in words, so maybe these pictures below will help show what you're dealing with:
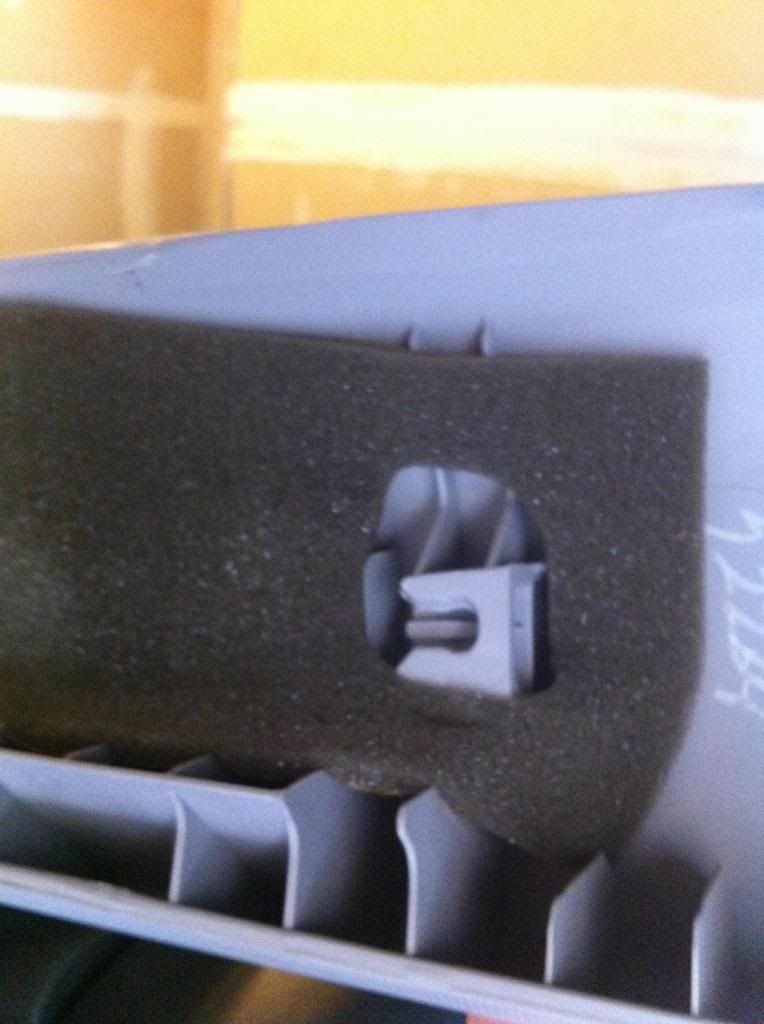 |
| Slotted clip requires pillar to be slid up before pulling out. |
5) Remove the Torx screw from the visor holder clip and the 2 screws in the sunglasses holder in the ceiling.
6) Plug the provided wire harness into the rearview mirror and route the wires up to the headliner over the driver's side and down the "A" pillar thru the dash near the windshield and into the footwell near the fuse panel.
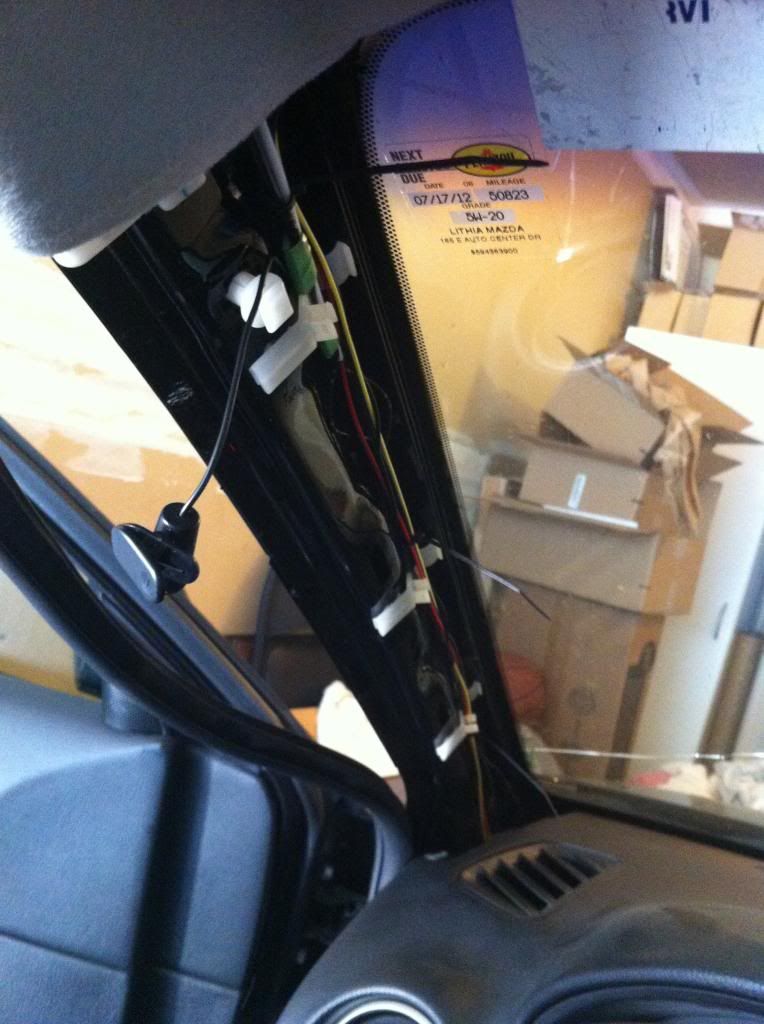
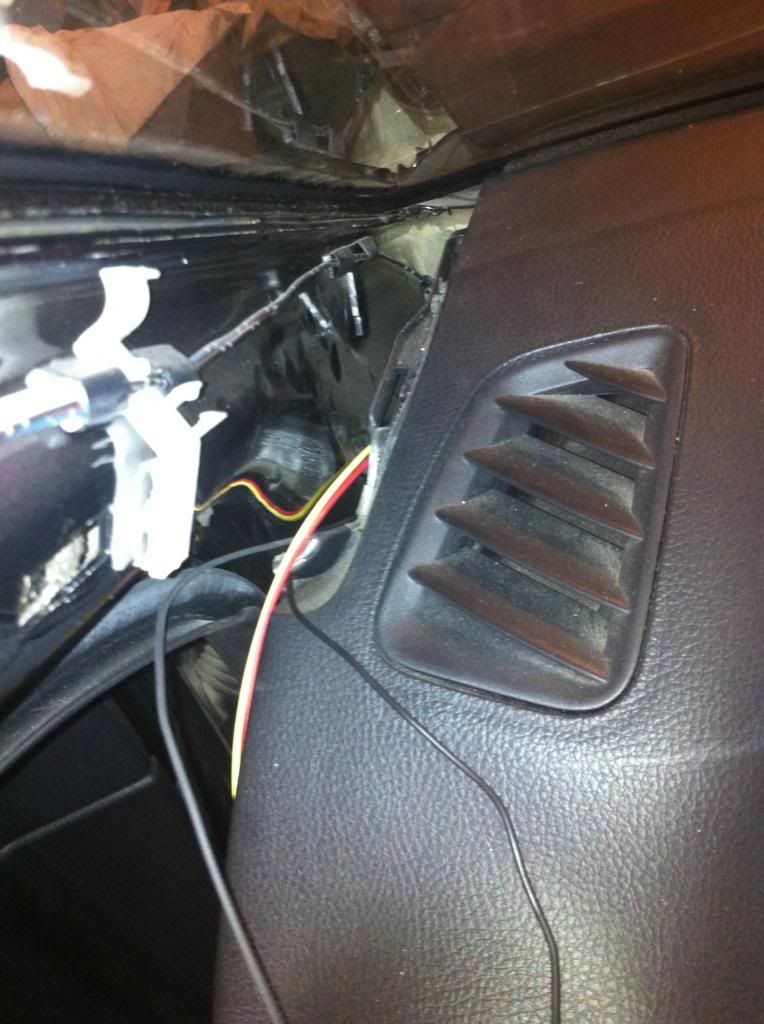
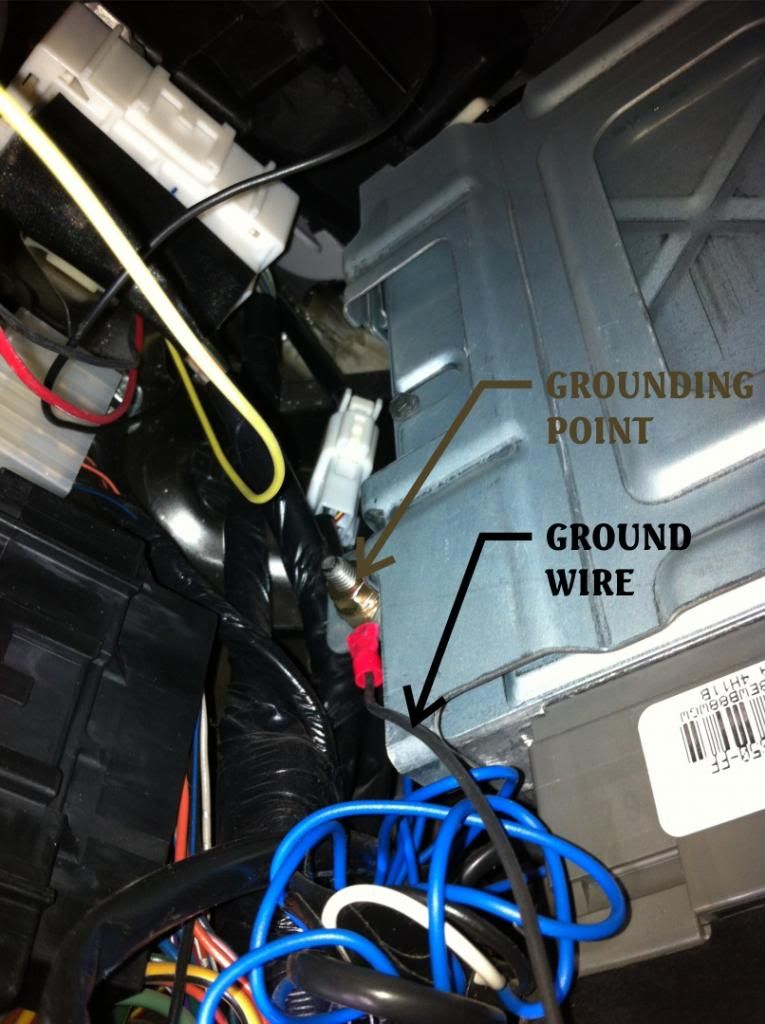
7) Remove the 8mm nut on the lower left corner of the PCM and install ground wire ring. Re-tighten the nut.
8) Use the provided wire taps to connect the Red wire (gives power to compass & autodim feature) to the Green w/ Black Stripe wire in the fuse panel. This provides 12v only when the key is on, so it won't drain the battery.
Then tap the Yellow homelink wire (gives power to remote control buttons) to the Blue w/ Red Stripe wire in the fuse panel. This provides 12v constantly, even if the car is off. I did this so that I can use the buttons to open the garage door anytime, even if the car is off and I don't have the keys with me.
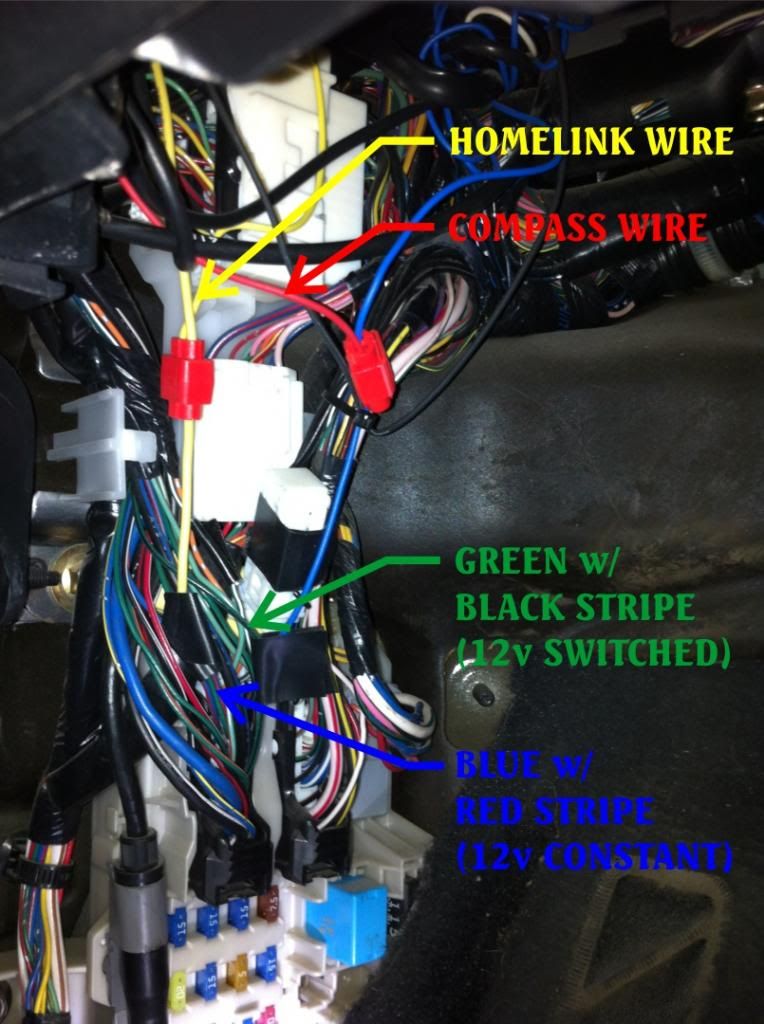
Optional: You can tap the Yellow homelink wire to the Green w/ Black Stripe wire in the fuse panel if you want added protection. For instance, if you park your car outside and someone breaks into it, they won't be able to push the button to open your garage door without the keys to turn the car on.
9) Check the mirror operation and make sure everything works.
10) Reinstall visor clip screw and sunglasses holder screws. Re-attached "A" pillar, remember to slide top clip down before pushing in.
11) Install included plastic wire cover to hide the wire that shows from the windshield mount to the headliner.


Have a problem, question or comment ? Let me know below.
No comments:
Post a Comment